Friday, October 31, 2014

Homemade Sweet Potato Fries

Hello, everyone! Today I actually have a recipe that is not anything pumpkin related! Be happy. And relieved. Oh, and go ahead and say, "It's about time!" 
Today's recipe is seasonal, however. I would eat it all year round, though, because it's just that good. I had the idea to make sweet potato fries after I saw a picture of them online. I never was very fond of them, but for some reason, that picture made them look really good. I was not disappointed. I made these two different ways, because I wanted to see which way would make them taste better. The fried version was my favorite. They were much crispier, and there was something about them that made them feel more like fries. Probably the fact that they were done in the deep fryer. 
I highly advise trying out this recipe. Leave us a comment telling us how it turned out too! Enjoy! 

Homemade Sweet Potato Fries

5 large sweet potatoes, peeled
seasoning salt
garlic
chili powder
oil, for frying 

Wash and peel the sweet potatoes. Cut them into sticks, and place in a large bowl. 
Heat up the oil in a deep fryer to 375*. If you don't have a deep fryer, heat up the oil in a large saucepan until it is hot. 
Fry the sweet potatoes in the hot oil until brown and crispy. Make sure you stir/flip them often to make sure they cook evenly. 
Transfer them to a paper towel-lined bowl, and sprinkle them with the seasoning salt, garlic, and chili powder. Toss them until they are well coated. Repeat with all of the rest of the sweet potatoes. Serve warm. 

These make a really yummy snack, and they are really easy to make! My family really enjoyed them. 

                                                            ~Nutmeg

Tuesday, October 28, 2014

Oven Roasted Carrots

Hello Everyone!  How was your weekend?  Mine went pretty well.  I went to a friend's house who I hadn't seen for a while.  We ate a lot of junk food.  I know, I know, shame on us.  Fortunately, it's the beginning of a new week, so let's start it out healthy!  Carrots are one of my favorite cooked vegetables.  I love that they get sweeter when they are cooked.

Oven Roasted Carrots

12 carrots, peeled and trimmed
1/4 cup olive oil
1/2 tsp. dried thyme
salt and pepper to taste

Preheat oven to 400*F.  Line a baking sheet with aluminum foil.  Halve your carrots lengthwise so that they cook more evenly.  Lay carrots out on the foiled sheet and drizzle with olive oil.  Toss them a bit to make sure they are fully coated.  Sprinkle with thyme, salt, and pepper.  Roast at 400*F for 35-40 minutes.


Yum!!!  You should all give these carrots a try.  They were so good that we could have doubled the recipe for our family of four!  What are your guys' favorite carrot recipes?  Leave a comment and share!

Friday, October 24, 2014

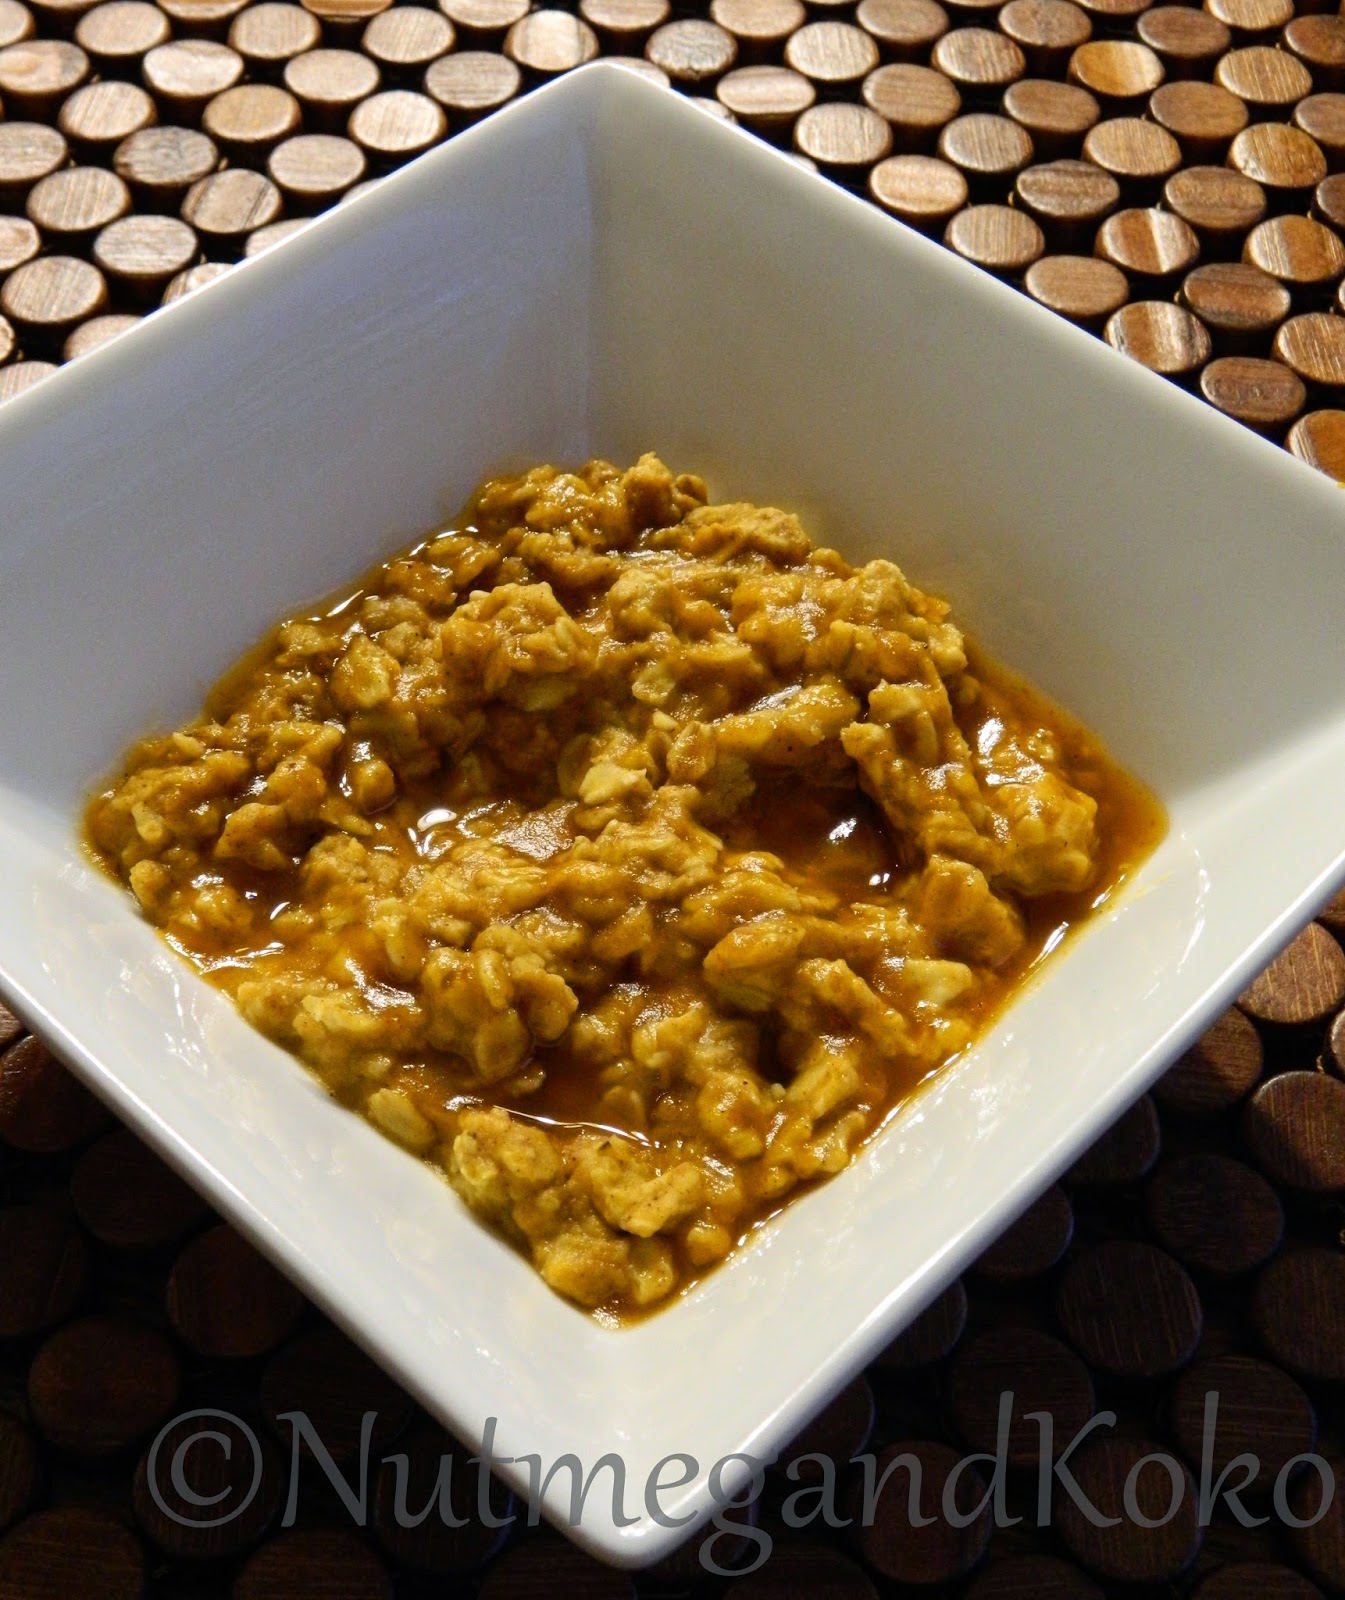
Pumpkin Spice Overnight Oats

Hello, everyone! I am taking this whole autumn thing really seriously, as you can probably very well see from all of my pumpkin spice recipes. I think Koko should do a pumpkin spice recipe or two, don't you? I have one more for you today, and who knows...there may be more coming!
Today's recipe is another really quick breakfast idea for those rushed mornings that everyone has. This is perfect topped with walnuts, and the syrup adds a really nice flavor as well. I discovered the part about walnuts after I took the picture, but it is delicious without them too. Enjoy!

Pumpkin Spice Overnight Oats

1/3 cup oats
1/4 cup milk
1/4 canned pumpkin 
1 tsp. pumpkin pie spice
2 Tablespoons brown sugar
pumpkin spice syrup (or syrup of your choice)
chopped walnuts (optional)

Combine all of the ingredients except the syrup in a mason jar or bowl. Refrigerate it overnight. 
In the morning, put it into a microwaveable bowl and microwave for 30 seconds, or until it is warm. (you don't have to heat it up if you don't want to.) Drizzle it with syrup of your choice, and sprinkle with walnuts. Enjoy! 
                        ~Nutmeg

Monday, October 20, 2014

Quick Berry Muffins

Hello Everyone!  My mom made these muffins, and I love them.  The thing is, I hadn't had time to get breakfast and had to catch the bus.  These little muffins were done three minutes before the bus came.  I am still not sure whether my mom has superb timing, or if the muffins had a mind of their own.  Although, I am inclined to believe that my mother just had great timing.


Quick Berry Muffins

2 cups flour
1 Tbsp. baking powder
1/2 tsp. salt
1/2 cup sugar
1 cup berries
1/2 tsp. vanilla
1/2 cup milk (or almond milk for dairy free)
1/4 cup vegetable or refined sunflower oil
1 egg

Preheat oven to 400*F.  Combine dry ingredients in bowl; stir in berries.

Add vanilla, milk, egg, and oil.  Mix to combine.  Pour batter into paper lined muffin tins, filling 3/4 full.  Bake 12-15 minutes in preheated oven.

Friday, October 17, 2014

Chocolate Peanut Butter Chip Cookies

Hello, everyone! I hope you have all been enjoying this beautiful autumn weather! 
I don't know about you, but I love peanut butter and chocolate together. They just happen to combine to make one of my favorite candies of all time...Reese Peanut Butter Cups. I wanted to make a cookie this week that had both peanut butter and chocolate, since I didn't have any Reese Cups on hand. They were delicious. Try them out and let us know what you think! Enjoy!! 


Chocolate Peanut Butter Chip Cookies

1 1/2 cups flour
3/4 cup cocoa powder
1 tsp. baking soda
1/2 tsp. salt
2 cups sugar
1 1/2 cups shortening or butter
2 eggs
2 tsp. vanilla
1 1/2 cups (or one 10 oz. bag) peanut butter chips


Preheat the oven to 350*.
In a medium bowl, combine the flour, cocoa powder, baking soda, and salt. Set aside. 
In a large mixing bowl, cream the shortening and sugar until smooth. Add the eggs and vanilla, and mix well. 
Gradually add in the dry ingredients, making sure that it is mixed well.
Add in the peanut butter chips, making sure it is evenly distributed throughout the dough. 
Drop by teaspoonfuls onto ungreased cookie sheets, and bake for 10-12 minutes. They will be slightly puffy, but will flatten more as they cool. Do not over-bake them. 

I was really happy with the way these cookies turned out. I will definitely be making these again in the future! 

                                                                            ~Nutmeg

Wednesday, October 15, 2014

Raspberry Almond Cake

Hello Everyone!  Who loves apple orchards?  I do!  Who has picked raspberries at an apple orchard?  I have!  Ok, I know that is kind of ridiculous, but my family had gone apple picking the previous week.  This time, I was going with my youth group and thought more apples would be a little much.  That is when I noticed the raspberries. 

Actually, a friend and I discovered them.  While we were picking, she playfully yelled at me several times to stop eating all the raspberries she had just picked.  Admittedly, I was doing more eating than picking.  She motivated me to get picking, or else.  The "or else" is what finally got me picking, and not eating.  This was the fruit of our labor!  :)


Raspberry Almond Cake

1 box white cake mix
4 eggs
3/4 cup milk
1 teaspoon vanilla
1/3 cup oil
1 quart raspberries
1/2 cup toasted almonds


Frosting

1 1/2 sticks butter, softened
2 1/2 cups powdered sugar
1 T. milk
1/4 teaspoon almond extract


Directions


Preheat oven to 350*.

Grease and flour 9x13 cake pan.

Combine all ingredients for cake, excepting almonds.

Pour into pan and bake for 30-35 minutes or until a toothpick inserted in the center comes out clean.  Cool.

Combine ingredients for frosting and beat on high for three minutes.  Spread on cake, and sprinkle toasted almonds on top.  Serve. Enjoy!


I brought this cake to my school for the teachers, and there was barely any left!  I hope you all enjoy this as much as they did!

Friday, October 10, 2014

Triple Chocolate Cake Balls

Hello, everyone! Today's recipe actually came about when I flopped another one. I would say this one is very much worth it, though. These cake balls are very rich and full of chocolate, so if you are a chocolate lover like I am, you will be addicted. The picture looks like the one of the Chocolate Oreo Truffles that I made a while back, but it is different. My little sister actually decorated them, so this is a project you could do with children as well! They really have a lot of fun helping out. Enjoy! 


Triple Chocolate Cake Balls

                                          Cake:
1/2 cup cocoa powder
1/2 cup hot water
1 cup sugar
3/4 cup all-purpose flour
3/4 tsp. baking soda
1/2 tsp. salt
4 eggs, separated
1/4 cup vegetable oil
1 tsp. vanilla
1/4 tsp. cream of tartar

                                   Also:
            3/4 cup chocolate frosting of your choice
           2 bags semi-sweet chocolate chips

Preheat the oven to 350*. 
In a small bowl, combine the cocoa and water until smooth. Set aside. 
In a large bowl, combine the flour, sugar, baking soda, and salt. Add the egg yolks, oil, vanilla, and the cocoa mixture. Stir it until it is smooth. 
In a mixer, beat the egg whites until foamy, then add the cream of tartar. Continue to beat it on high until soft peaks form. 
Fold it into the chocolate mixture, then pour it into a greased and floured 8x11 in. pan. Bake it for 30-35 minutes, or until a toothpick inserted in the middle comes out clean. Set it aside to cool. Do not remove it from the pan. 
Meanwhile, prepare your icing. The reason I don't have a recipe for that is because I just mixed together a few things without really measuring. I don't remember how much of each I put in. 
When the cake is cooled, get a fork and crumble it up in the pan. Transfer the crumbs to a large bowl. Mix in the chocolate frosting until all of the cake crumbs are evenly coated. Shape the mixture into 1-inch balls, and place on a cookie sheet lined with parchment or wax paper. Place it in the freezer and let it sit for about 2 hours. This will make the dipping easier. 
In a double broiler over medium heat, melt the chocolate chips. Dip each cake ball into the chocolate, and make sure it is covered evenly. Put it back on the cookie sheet, where they will set. This is where you can get some sprinkles for them. You want to put them on before it sets. 
Put the cookie sheet with the coated cake balls back in the freezer, until the chocolate is set. Convert it to a container, and place it in the refrigerator. Yummy! 

These cake balls are really good. They won't be around our house for too long! Try them out and let us know how you enjoyed them! 

                       ~Nutmeg


Monday, October 6, 2014

Banana Bundt Cake

Hello Everyone!  Once again, we have an overflow of old bananas (I don't mind though, it gives me an excuse to bake things).  If I had a choice, I would bake things with bananas quite a bit.  You can do so many things with them!  This is my new favorite banana cake recipe.  It was still amazing the third day!


Banana Bundt Cake

3tsp. + 2 cups sugar, divided
1/2 cup butter, softened
6 eggs
4 well ripened bananas, mashed
2 tsp. vanilla
1 cup plain yogurt
3 cups flour
1/2 tsp. salt
1/2 tsp. baking powder
1/2 tsp. baking soda

Optional Glaze (for presentation - it's great without it):
1 1/2 cups powdered sugar
1/2 tsp. vanilla
3-4 tsp. milk

Preheat oven to 325*F.  Grease a 10" fluted tube pan (bundt pan).  Sprinkle with 3 tsp. sugar;  Set aside.  In a large bowl, cream butter and sugar until light and fluffy.  Add eggs, one at a time, beating well after each addition.  Stir in bananas and vanilla.  Combine dry ingredients in a medium bowl.  Add to creamed mixture alternately with yogurt, beating until just combined.

Pour into prepared pan.  Bake in preheated oven for 75-85 minutes, or until a toothpick comes out clean.  Cool in pan for 10 minutes before removing from pan onto a wire rack to cool completely.

If you would like to glaze your cake, whisk together glaze ingredients in a small bowl.  When the cake has fully cooled, drizzle or lightly spoon glaze over the top and allow to set before serving (2 hours+)


This cake was so good!  You should all definitely give it a try!

Friday, October 3, 2014

Ground Beef Pockets

Hello, everyone! Today's recipe is very delicious, and it is perfect for dinner. 
I had been wanting biscuits for days, and I finally decided to do something about it. I made a basic biscuit dough, which I then used to create these ground beef pockets. These were very good, and they were a big hit with my family. 
When you are preparing it, it is best to start the ground beef cooking, then work on the dough. It takes multi-tasking, but it gets it done faster. Enjoy! 


Ground Beef Pockets

               Biscuit dough:
4 cups all-purpose flour
1/2 tsp. baking soda
2 Tablespoons baking powder
1 tsp. salt
3/4 cup vegetable shortening
2 cups milk, minus 2 Tablespoons
2 Tablespoons lemon juice

                             Filling:
2 lbs. of ground beef
1/2 medium onion, chopped
2 cans (8 oz. each) tomato sauce
2 Tablespoons water
1 tsp. chili powder
pinch of salt
sprinkle of garlic


For the dough: 
Preheat the oven to 450*. 
In a medium bowl, combine the milk and the lemon juice. Set aside. 
In a large bowl, whisk together the flour, baking soda, baking powder, and salt. Cut in the shortening with a fork until it is well combined, and the mixture is crumbly. 
Gradually add in the milk mixture, stirring while you pour it in. Mix the dough well, then turn it onto a floured surface. 
Pat (do not roll) the dough, folding it several times over, until it is no longer sticky. Pull off sections of dough and roll them into about a 2-inch ball. (the more dough you have, the bigger the pocket will be) Flatten the dough into a circle about an 1/4 of an inch thick. Again, do not roll the dough. It takes away from the airiness of the biscuit. 

For the meat: 
In a large saucepan, brown the ground beef. Add in the onions, water, and tomato sauce. Mix it well, making sure all of the meat is coated. Next, add in the seasonings. You can add in more or less salt and garlic, but I didn't really measure it as you can see...I went by flavor. 

When your meat mixture is cooked, it is time to make the pockets. Put a spoon of meat onto one of the dough circles, then fold the dough over and pinch the edges closed to keep the meat inside. Place it on an ungreased cookie sheet, and repeat with all of the other dough. There may be leftover meat, but it is good eaten by itself or over rice as well. You can find a creative way to use it. Another thing that I would try is making a sort of roll instead of individual pockets. Experiment and be creative! After all, isn't that what cooking is all about? :) I hope you try this recipe and let us know how it turned out! We'd love to hear from you! 

                                 ~Nutmeg